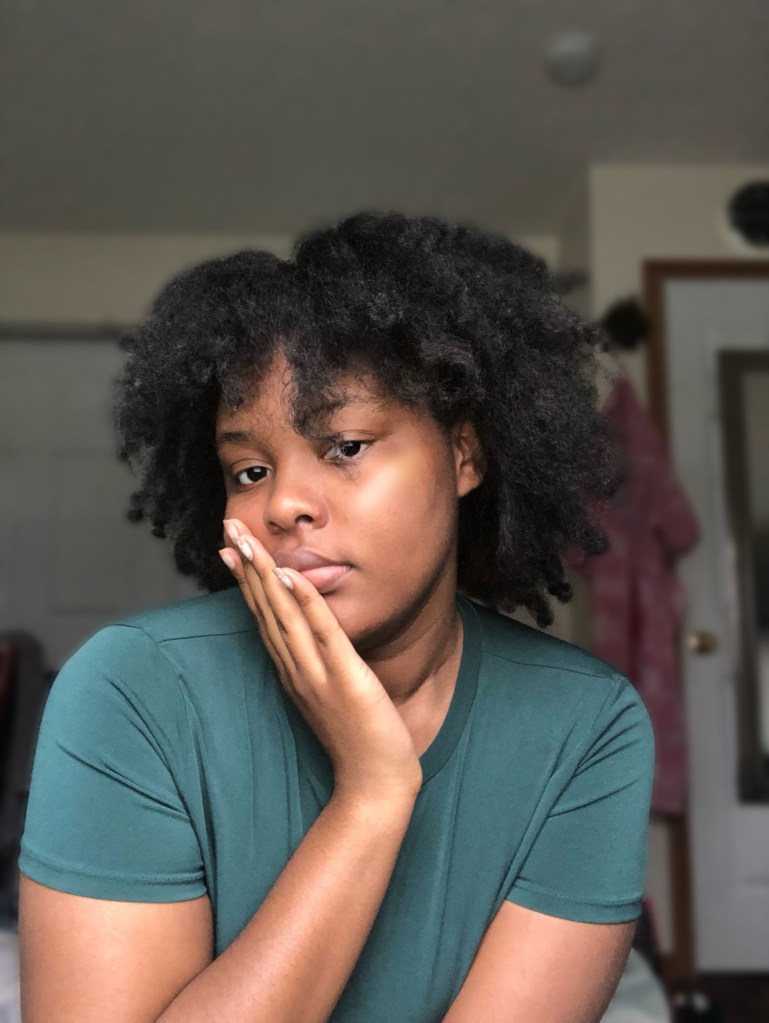
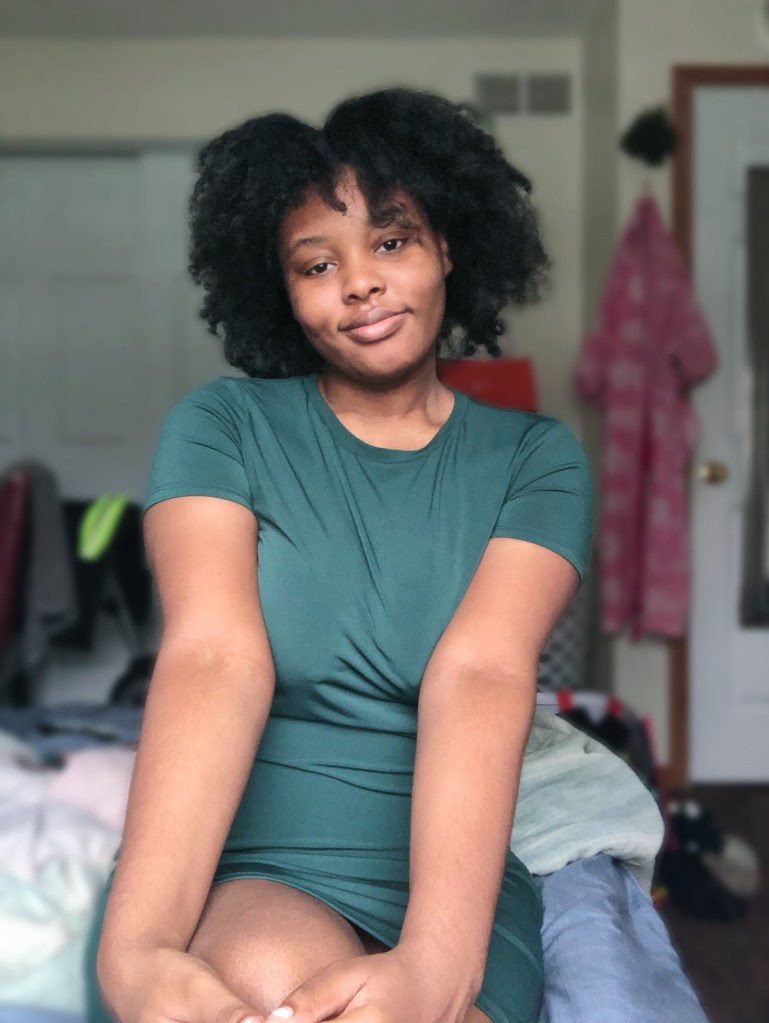
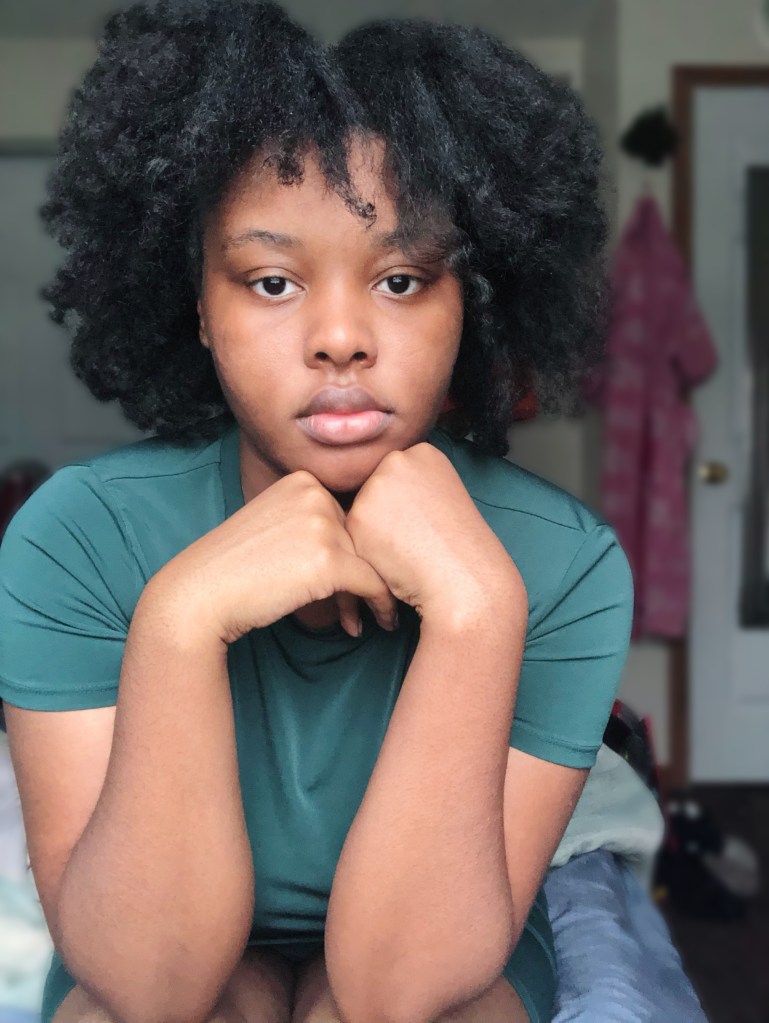
For this project, I decided to make a kind of “get ready with me” video while talking about my blog topic, which is about my hair, the purpose and reason for this blog, and a backstory on how it started and how it came to be for my hair. My project relates to my topic because first of all, throughout the whole video, I talk about hair and my own hair and about my topic all while doing my own hair.
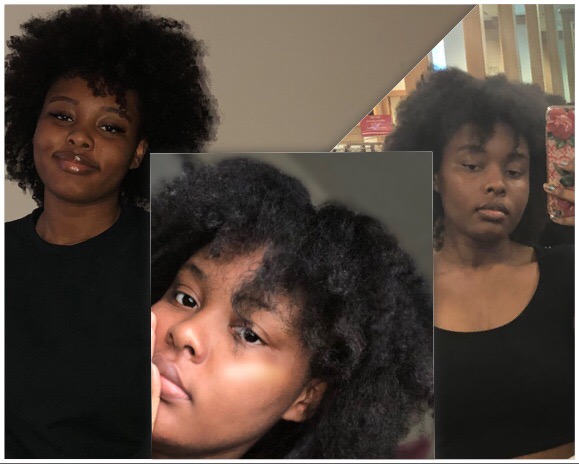
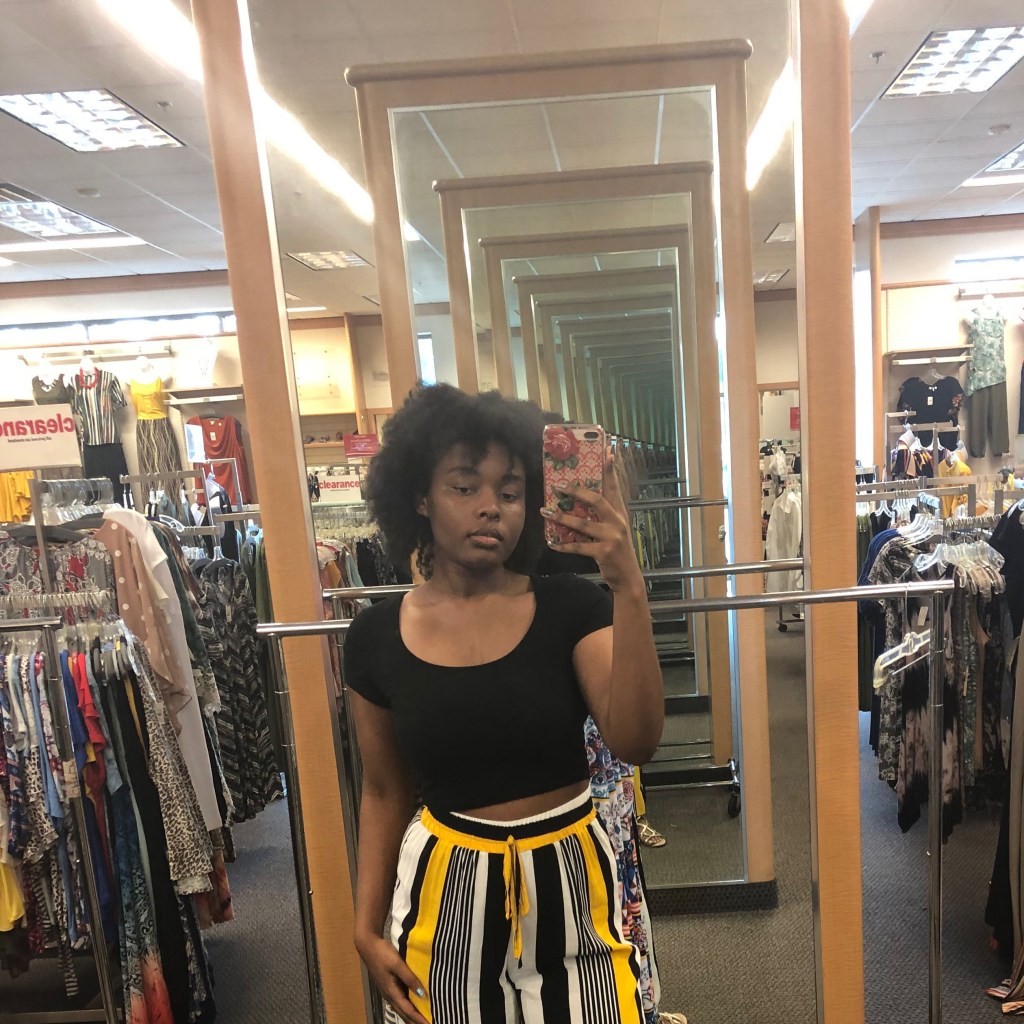
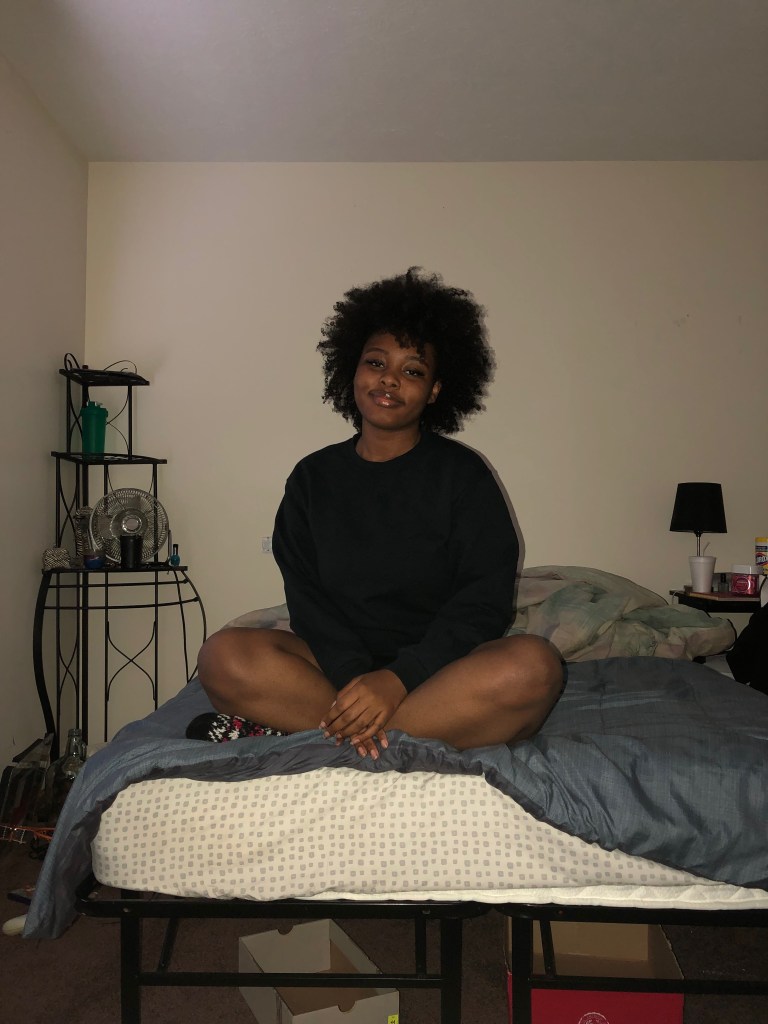
The inspirations for my designs and my layout was the basic “get ready with me” videos on YouTube. I usually don’t watch those videos, but I thought it would be a good idea and a more interesting video if I just did my hair all while talking about hair. So that’s that really influenced me to make a video like this. There was one YouTube video that I’ve seen way before this project where she talks about her big chop and that video is what really pushed me to cut my own hair. Her YouTube name is Chrissy Cousins and the title of her video is called “The Big Chop 2016: Starting My New Natural Hair Journey”. My design process was just to make sure that it looked and sounded interesting and to keep the viewers listening without them being bored, at least I tried to do that. So whether I added pictures, gifs, and music to the video helped a lot. This whole process took about two day and making the video took about one and a half day because I kept rethinking what I said and had different ideas of what I wanted to say instead of what I originally said. What I used for my video is simply two things, my IPhone and Premiere from Adobe. First I made a raw video of me talking about my topic and how it all started. Then once I filmed myself, the total time that it came to was 3 minutes and 40 seconds. So since it had to be either 60, 90, 120, 150, or 180 seconds, I just cut out a few unnecessary parts that wasn’t needed. After that, it came to 2 minutes and 30 seconds or 150 seconds. So after I edited the video, I added background music so it wouldn’t sound dull and boring. What I used was an edited remix version a BTS song called Magic Shop. Then to show what my hair looked like before and the products that I mentioned in the video, I added photos. Also, I did add some extra things too juist to add more to it, like I added a Kim Taehyung gif when I mentioned BTS, and added some funny texts and some pic art to it. Shortly after, I decided to add a filter to it just to make it look more fascinating and look less dull and dark. Finally, I was satisfied with it and finish the video.
But at times, I would get really confused on where I could find certain tools and how to use them properly. I also wanted to use music that I wanted to use so I had problems with that too, but I ended up finding ways to resolve those issues by looking on YouTube tutorials on how to use them and what tools control what and I looked into using your own music of choice to add to the background.